Buying plantation shutters is a more involved process than buying most window coverings. There are more steps, more decisions, and more precision required than ordering a roller blind or a curtain. That’s not a complication, it’s what makes the end result fit properly and last for fifteen years or more.
The customers who enjoy the process most are the ones who know what to expect before it starts. This article covers every step from first consultation to finished installation, including the parts that catch people off guard when they’re not told about them upfront.
Step 1: The free in-home consultation
The process starts with a Wynstan consultant coming to your home. You don’t need to visit a showroom, find a tape measure, or have any idea what you want before they arrive. That’s what the consultation is for.
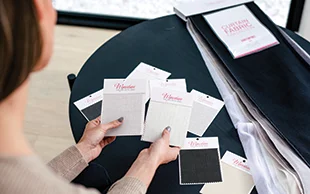
The consultant looks at every window you’re considering, assesses the reveal depth, wall surfaces, and window condition, and identifies anything that might affect how the shutter is configured or fitted, an out-of-square reveal, a window handle in an awkward position, an architrave that’s shallower than standard. They bring the full range of material and colour samples with them so you can see how each option looks in your actual room, in your actual light, before making any decisions.
They’ll talk through blade size options, panel configurations, and whether any of your windows are shaped or non-standard. By the end of the visit you’ll have a quote on the spot. No obligation, no pressure, just a clear picture of what’s involved and what it costs.
For more on the material options your consultant will cover, read our plantation shutter materials guide.
Step 2: Confirming the order
When you’re ready to go ahead, the order is confirmed and a check measure is booked. This is a separate visit, and the one most people haven’t heard about before buying shutters for the first time.
Step 3: The check measure, the step that makes everything fit
The check measure is a second, more detailed measurement visit by a Wynstan technician. It happens after your order is confirmed but before your shutters go into production. The consultant’s initial measurements are accurate, but plantation shutters are manufactured to the millimetre, and the check measure verifies every dimension before an irreversible cut is made.
It’s also the visit where certain decisions are finalised that can only be made by looking at the actual window in person.
Mid rail placement
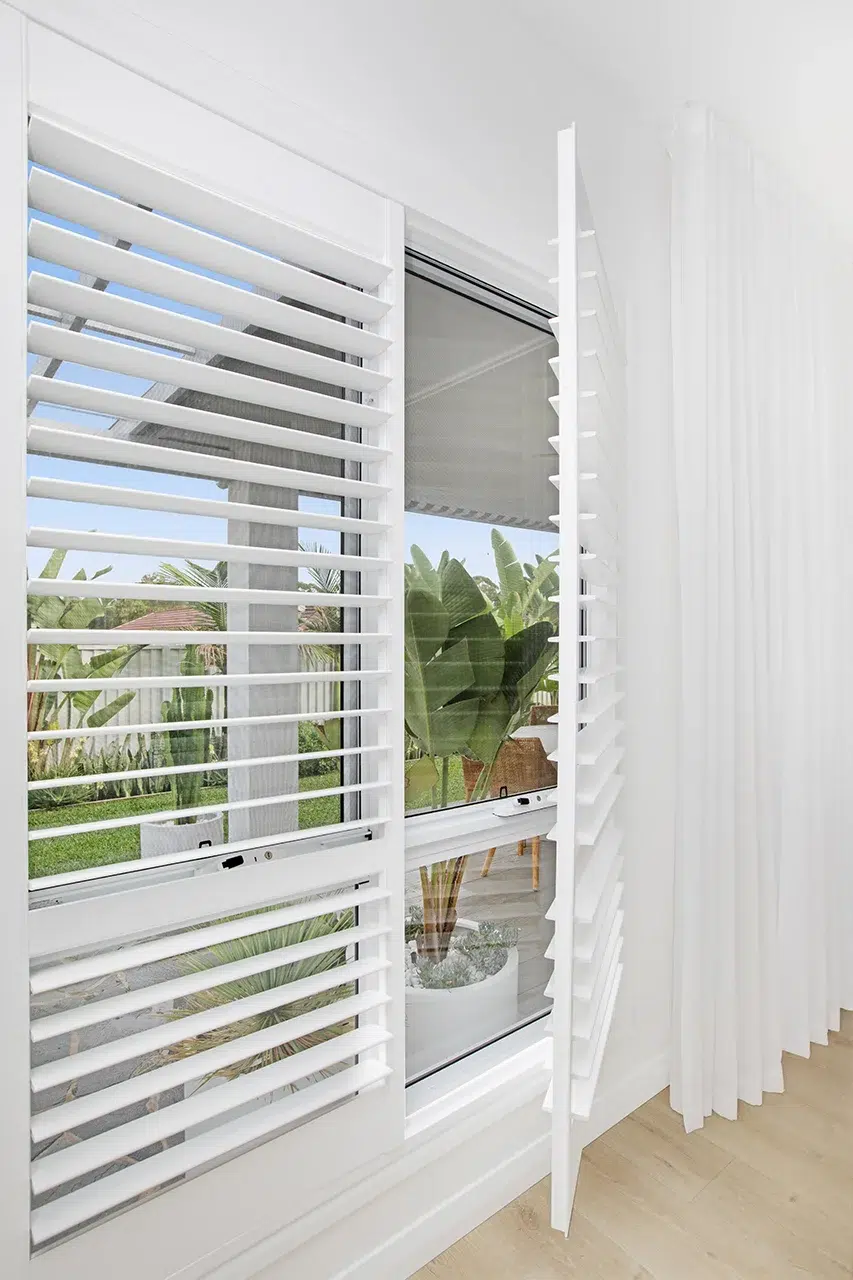
On taller windows, typically over 1,200mm, a horizontal mid rail divides the shutter panel into upper and lower sections. This isn’t decorative: it’s structurally necessary, and it also allows the top and bottom halves of the panel to be operated independently, which is one of the most useful features of a plantation shutter on a street-facing window.
Where the mid rail sits is determined at check measure by the technician, based on the window height and the number of blades needed for even, consistent spacing. Wynstan product expert Kathy Wang is clear on why this matters: the mid rail position is set by blade count and spacing, not by a fixed height from the floor. That means adjacent windows in the same room can have mid rails at slightly different heights, and that’s correct. It’s not an error. It’s the result of the shutter being fitted properly to each individual window.
This is one of the most common sources of post-installation questions, and the answer is always the same: the mid rail is exactly where it should be. Knowing this upfront means you won’t be surprised by it when the shutters go up.
Out-of-square reveals
Older Australian homes in particular have window reveals that aren’t perfectly square, walls settle, frames shift, and what looks straight to the eye is rarely perfectly true to a millimetre. The check measure detects any out-of-square condition and the frame is manufactured to compensate. During installation, caulking is applied around the frame to fill any remaining gaps between the frame and the reveal. This is standard practice on every shutter installation, not a workaround, not a sign of a problem. It’s how a precision-fitted product handles the realities of Australian homes.
Bottom rail alignment across multiple windows
Because mid rail placement is determined by blade count rather than a fixed height, the bottom rail of adjacent panels in the same room may sit at slightly different heights. Again, this is expected and correct. Kathy Wang flags this as something worth understanding before installation day, customers who notice it without context sometimes query it. The explanation is simple: each panel is configured to fit its own window correctly. The consistency is in the blade spacing, not in a fixed bottom rail height.
Step 4: Manufacturing
Once the check measure is complete, your shutters go into production. Every shutter is custom-made to the exact specifications confirmed at check measure, the frame dimensions, blade size, panel configuration, colour, and finish are all locked in at this point. Nothing is standard off the shelf.
Lead times vary depending on the product and current production schedules, your consultant will confirm the expected timeframe at the time of order. It’s worth knowing upfront that shutters take longer to produce than soft furnishings. That’s the nature of a custom-made, precision-fitted product.
Step 5: Installation
Installation is included in your Wynstan quote. No separate tradesperson, no sourcing your own fixings, no wondering whether the person fitting them knows what they’re doing.
Shutter installation is closer to carpentry than standard blind fitting. The frames are fixed into the reveal or onto the architrave, the panels are hung and adjusted for even, consistent operation, and the blade tension and tilt bar movement are set correctly before the installer leaves. Caulking is applied around the frame as part of the standard finish.
The installation team walks you through how to operate the shutters properly, including the two-hands tilting technique that significantly reduces wear on the blade pins over time, and leaves you with two spare blades per shutter in your colour and matching touch-up paint. For everything you need to know about keeping them in good condition after that, read our guide to cleaning and maintaining plantation shutters.
Step 6: Warranty and after-care
Every Wynstan plantation shutter comes with a warranty that reflects how long the product is built to last. Fauxwood, Hardwood, Basswood, and Aluminium shutters carry a 5-year warranty. Australis shutters carry a 25-year warranty.
Wynstan also carries replacement blades and pins in stock, so if something needs attention after installation, it can be resolved quickly without a lengthy factory wait. Spare parts availability matters more the longer you own a product. For a shutter that should still be on your windows in fifteen years, knowing the support is in place is genuine long-term reassurance.
The reason the process has this many steps
Every step between your first consultation and your finished installation exists for the same reason: to make sure your shutters fit properly, last a long time, and never surprise you with something you weren’t told about.
The check measure catches anything the initial visit couldn’t confirm. The mid rail discussion sets expectations before installation day. The caulking, the blade count, the bottom rail alignment, all of it is the result of a process built around precision rather than speed.
Before you book, it’s worth reading our guide to the four questions to ask before you buy plantation shutters, it gives you the product knowledge to make a confident decision at your consultation.
When you’re ready to start, the first step is the free in-home consultation. A free measure and quote brings a Wynstan consultant to your home with samples, answers, and a quote on the spot.
Book your FREE Consultation Today!
This article was written by Shae Rankine, Marketing Coordinator at Wynstan. Shae works closely with product expert Kathy Wang to make sure every piece of content is accurate, practical, and genuinely useful.